Coding
Setting up the Code Area
-
Select and drag the
on startblock to the left of the screen and drop it on the bin. -
Select and drag the
foreverblock to the left of the screen and drop it on the bin. -
From the Input menu, select and drag the
on shakeblock to the code area and drop it. -
From the Input menu, select and drag a
on button A pressedblock to the code area and drop it. -
Right-click on the
on button A pressedblock and select duplicate.On the duplicated block select the little arrow next to A and choose B.
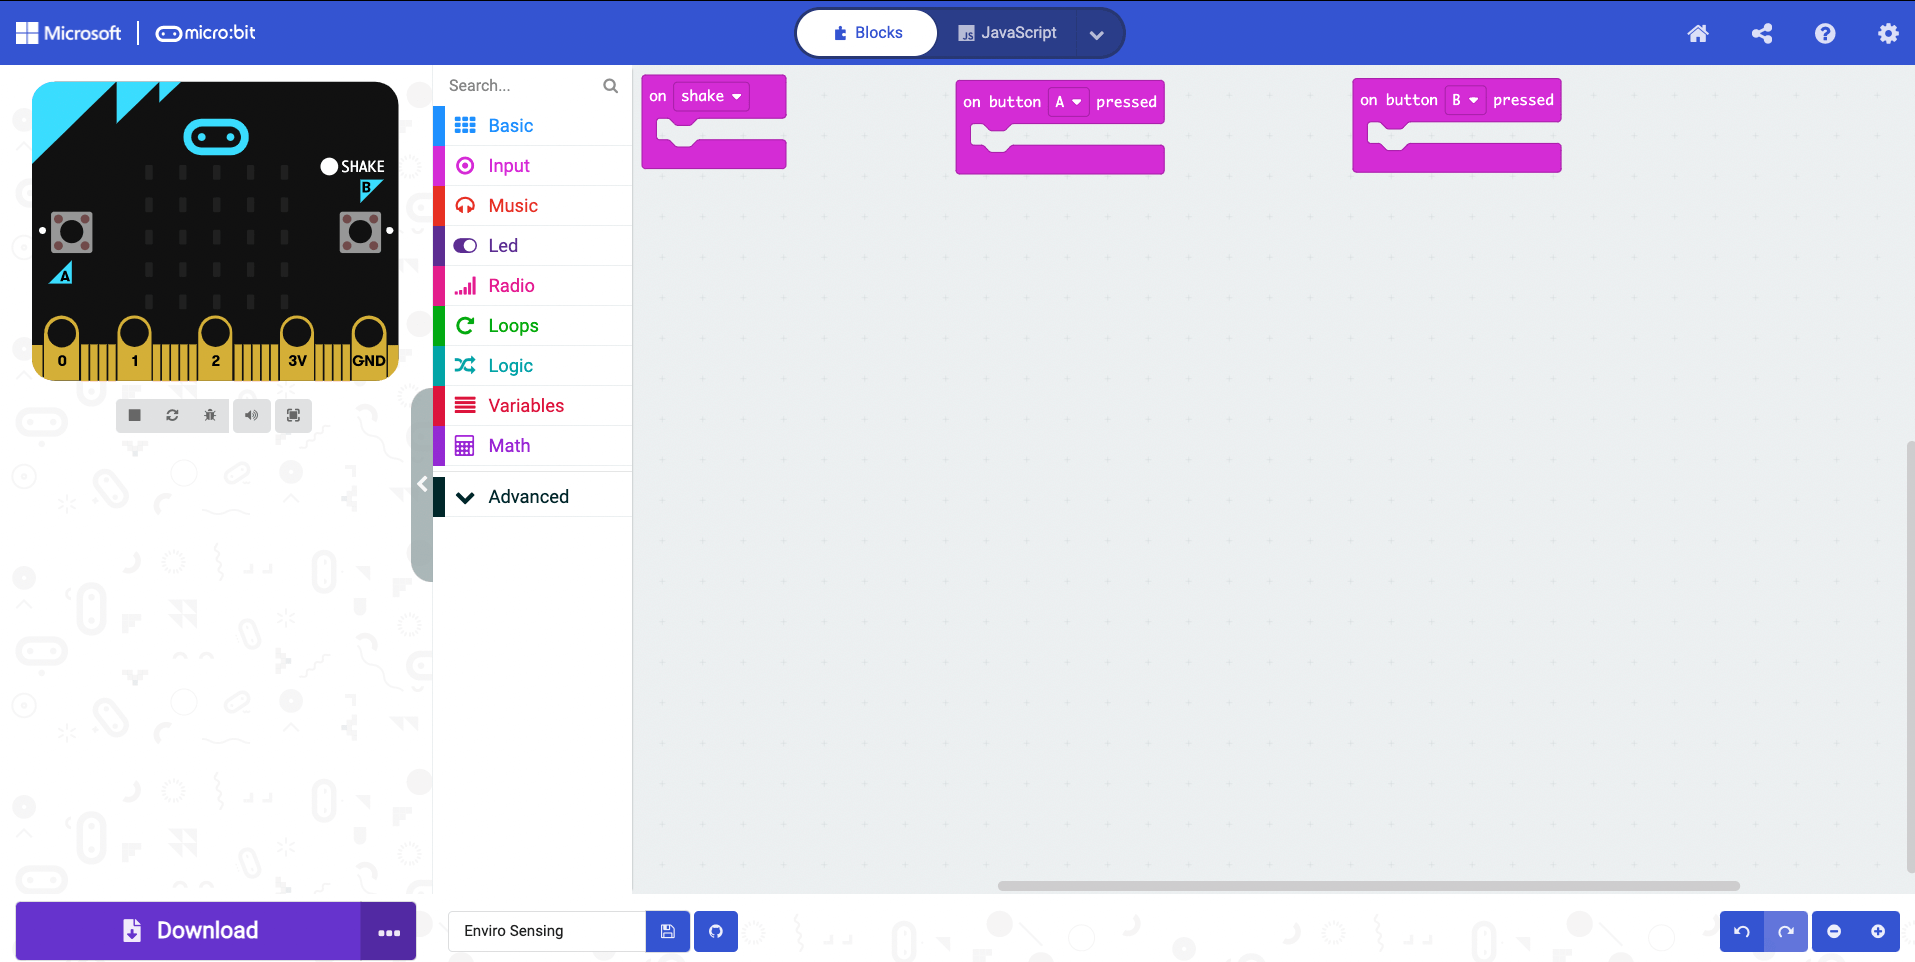
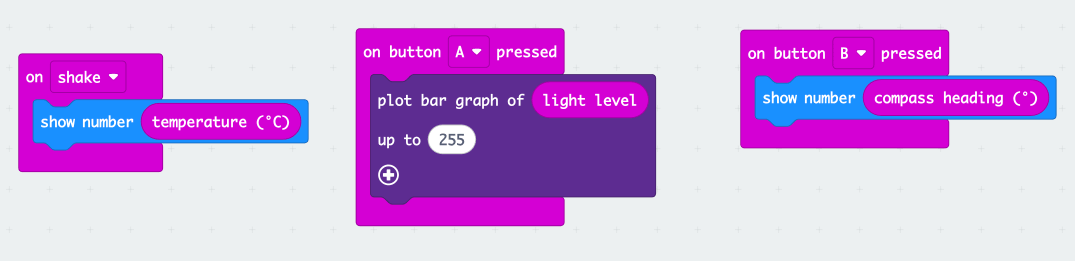
Your code area will now look like this:
Temperature Sensing
-
From the Basic menu, select and drag a
show numberblock to the code area and attach it within theon shakeblock. -
From the Input menu, select and drag a
temperatureblock to the code area and attach it within the 0 of theshow numberblock.

We can now sense the temperature around us.
Light Sensing
-
From the Led menu, select and drag a
plot bar graph ofblock to the code area and attach it within theon button A pressedblock. -
From the Input menu, select and drag a
light levelblock to the code area and attach it within the 0 of theplot bar graph ofblock. -
Type 255 within the 0 of the
up toline.
This will plot a graph on the LED matrix of the amount of light in your environment when the A button is pressed.

Compass Sensing
-
From the Basic menu, select and drag a
show numberblock to the code area and attach it within theon button Bpressed. -
From the Input menu, select and drag the
compass headingblock to the code area and attach it within the 0 ofshow number.

Completed Code
Here is what our completed code looks like:
We are now ready to download the code to our micro:bit so we can go out and sense our environment.